The CNC and Laser are both relatively low-powered but good enough for most modellers and crafters.
The Artisan’s modular design expands the functionality of what would be three machines.
The Artisan’s design builds on Snapmaker 2.0’s modular build.
Although from the outset, the build quality and materials are far removed from your average 3D printer.
This modular design enables you to swap between 3D printing and laser engraving to CNC quickly.
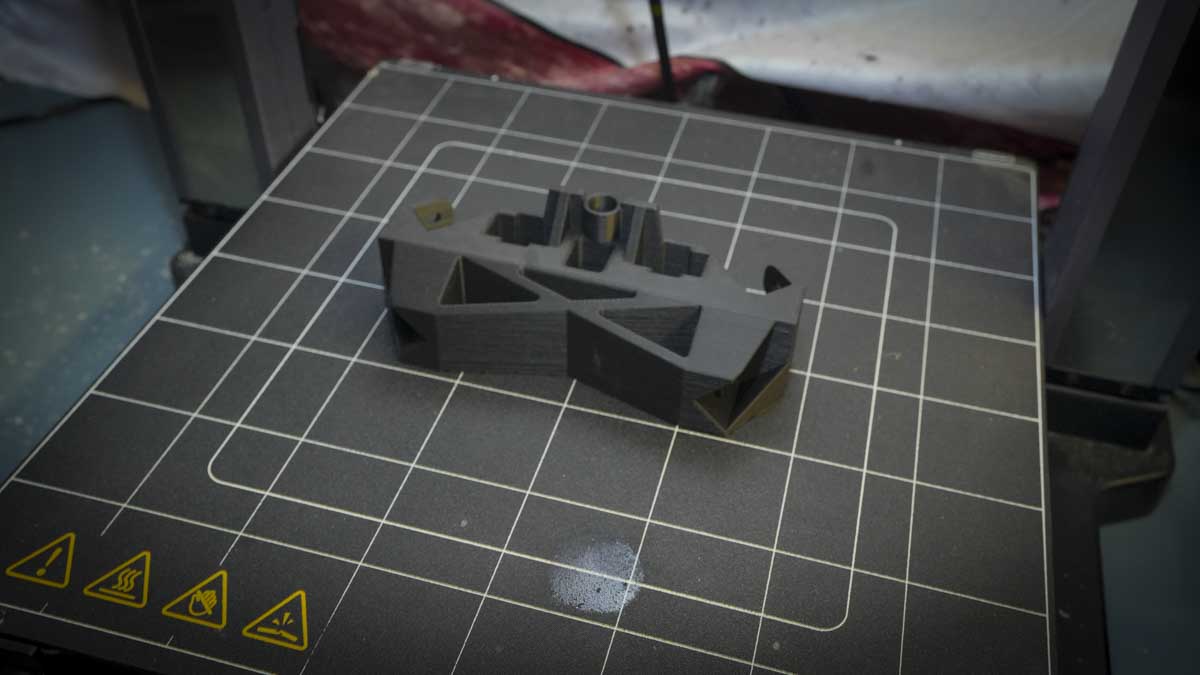
Next up is the 200W CNC carver module, again a significant upgrade over the previous 2.0 model.
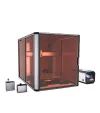
The enclosure includes door-detection sensors that halt operations when opened, ensuring safety.
An extractor isn’t included with the machine, but there are plenty of options available.
The information on the screen changes depending on the module you have attached at the time.
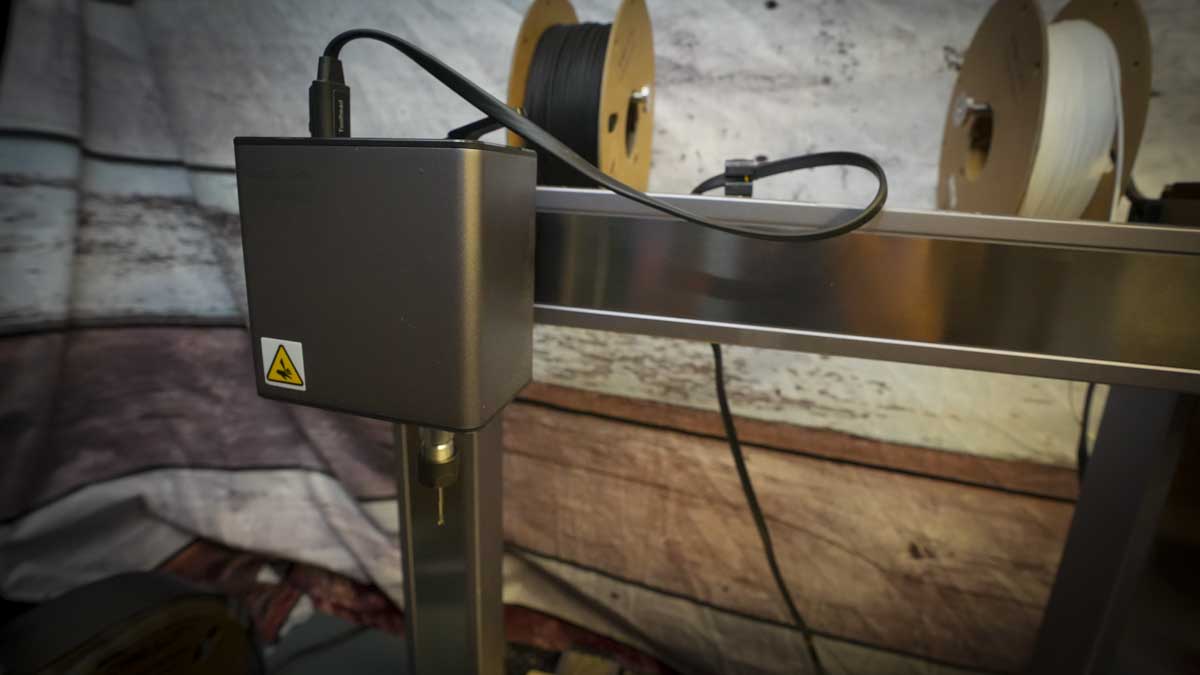
The wide-angle camera integrated into the laser module captures the entire work area.
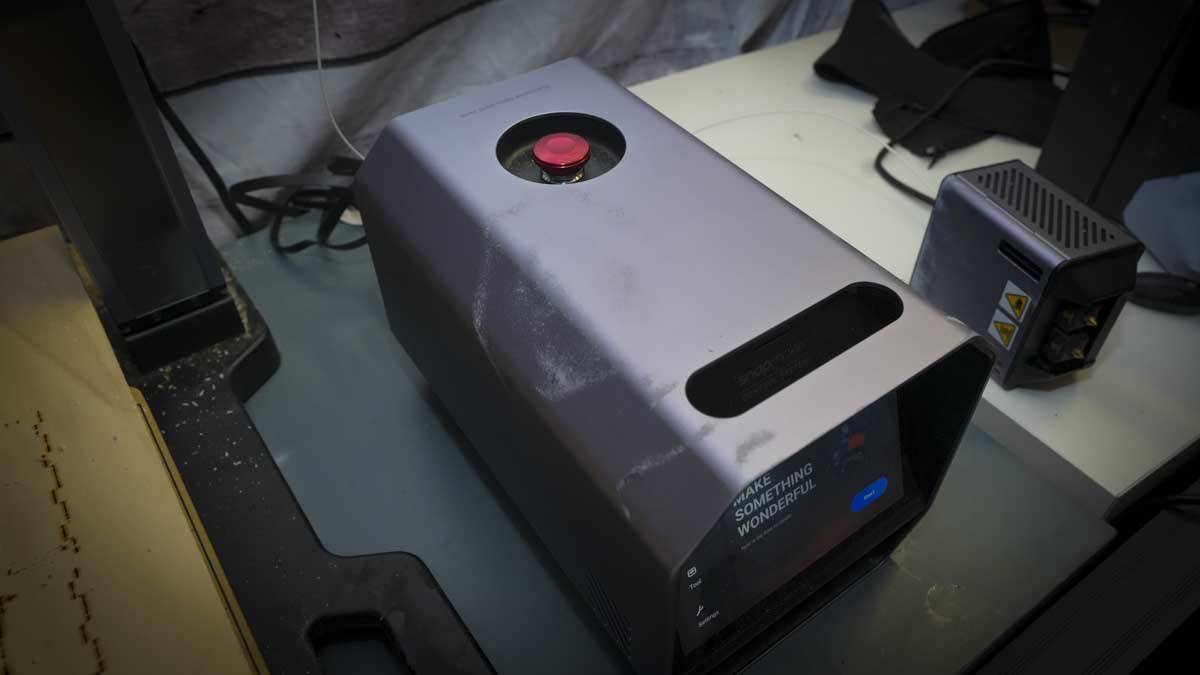
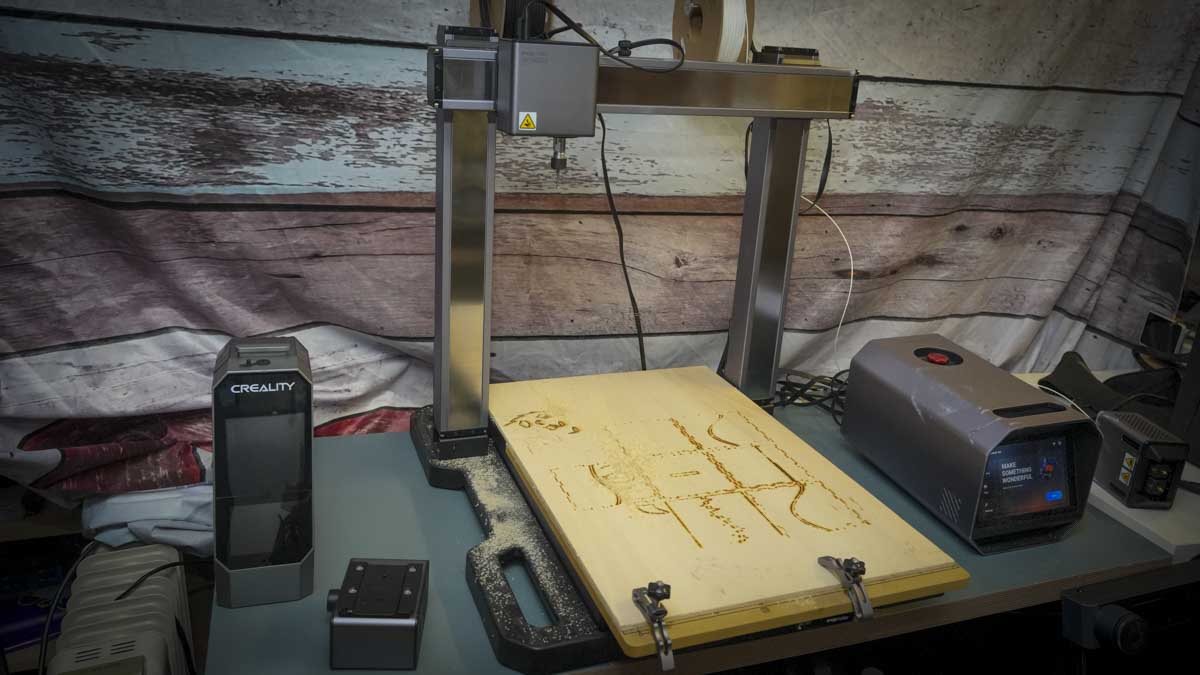
The control box next to the machine has an all-important emergency stop button.
The dedicated wooden work surface and clamps all help to ensure that workpieces are securely held in place.
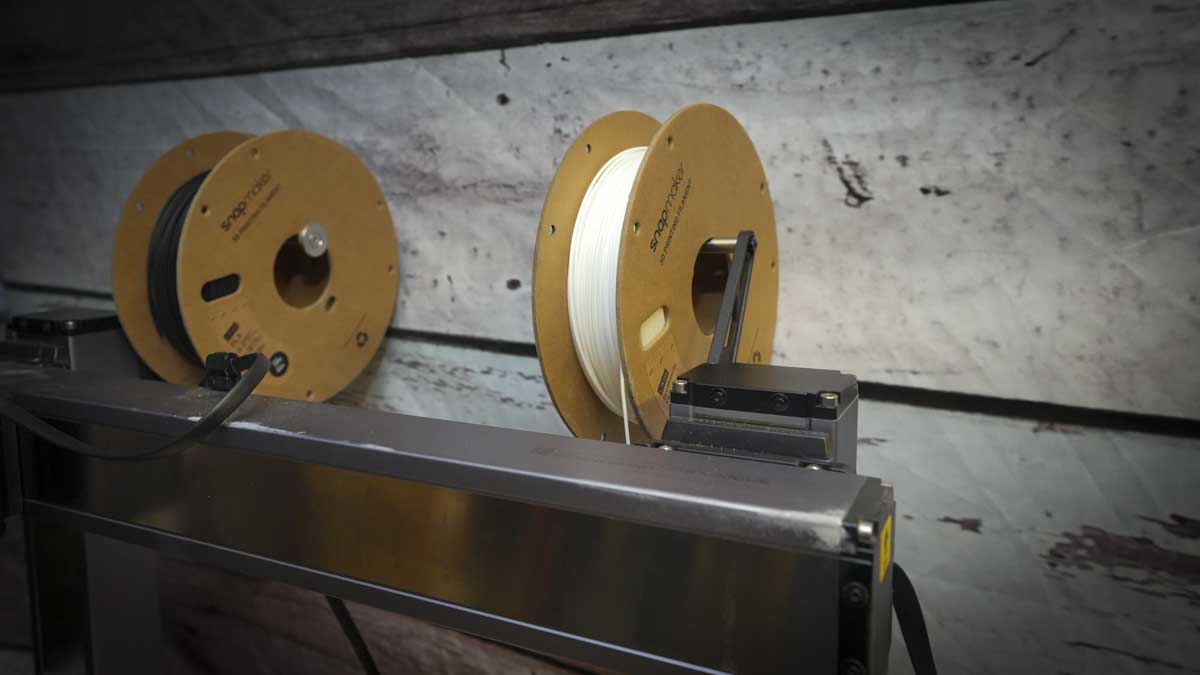
Essentially, with the machine off, the dual filament 3D print head is slipped into position and connected.
The whole process should only take a couple of minutes; it’s extremely quick and easy.
Another point to note is that while the bed is large, the heated bed utilises a zone-heating design.
One issue that we did have was with the double-sided glass build plate.
Overall, the quality of the prints, both single and dual extrusion, is excellent.
Laser Engraving Setup and Use
Switching over to laser engraving is, again, easy.
Once the machine is switched on, the laser setup takes a few minutes.
The calibration card for the laser and camera performs various checks it’s all quite straightforward.
A handy feature is the wide-angle camera integrated into the head.
This is a relatively common feature but essential for serious work to ensure that everything is laid out correctly.
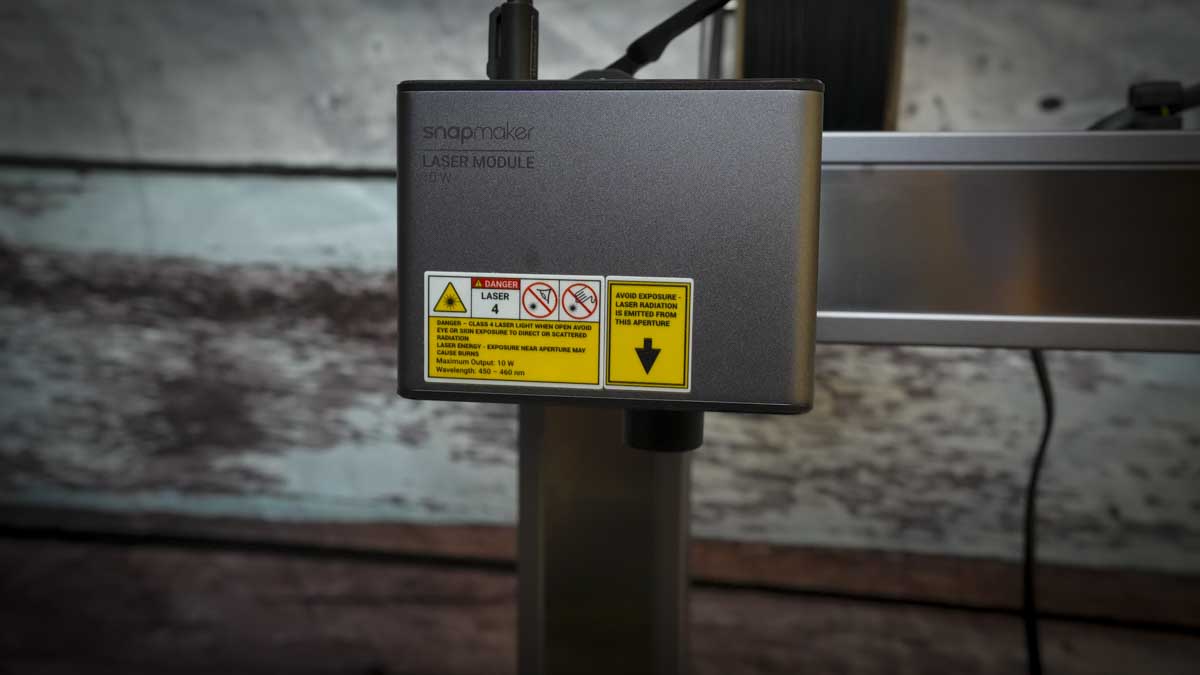
Starting with some simple engraving, the 10W laser makes short work of wood and plastic.
However, a little more time is needed to adjust the controls for softer metals such as Aluminium.

In use the 10W laser can cut through materials such as 3mm basswood plywood.
However, it does take some time, and there are far more powerful lasers out there.
The laser module’s performance is good.

CNC Carving Setup and Use
CNC carving is the lesser-known of their three functions.
Once the module is installed, it needs to be calibrated.
This is surprisingly easy and takes a couple of minutes to complete.

Once done, you could get started with laying out your own designs.
What’s really nice is the consistency of the software interface through the use of each different function.
This makes it easy to get to grips with maker techniques that you might not otherwise be familiar with.

Should You Buy the Snapmaker Artisan?
For more digital arts and crafts, we reviewed thebest 3D modeling software.
