When you purchase through links on our site, we may earn an affiliate commission.Heres how it works.
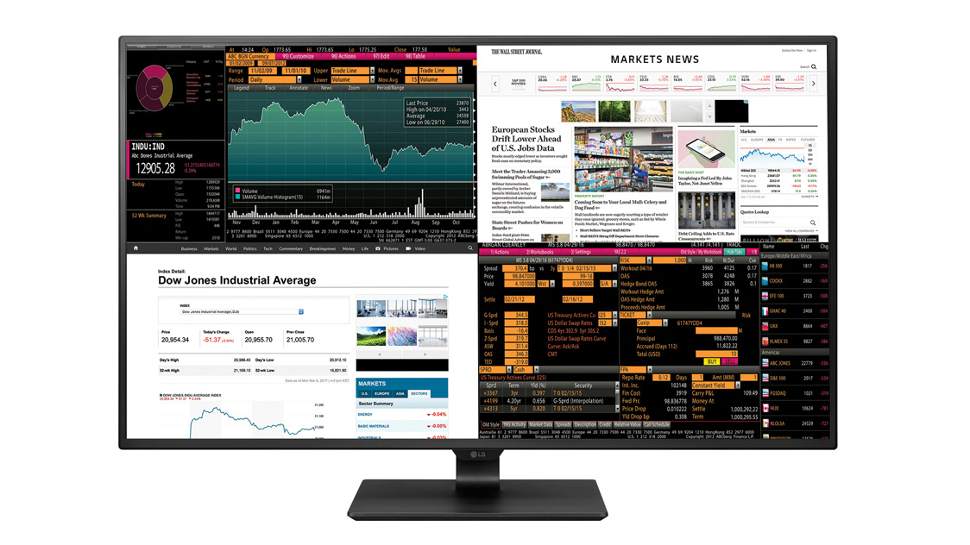
If you have only got one monitor available then split screen is the way forward.
The split-screen concept isn’t new.
Check out our step-by-step guide and discover how to maximize your screen and your efficiency.
Then, you’ve got the option to drag the software to its new position.
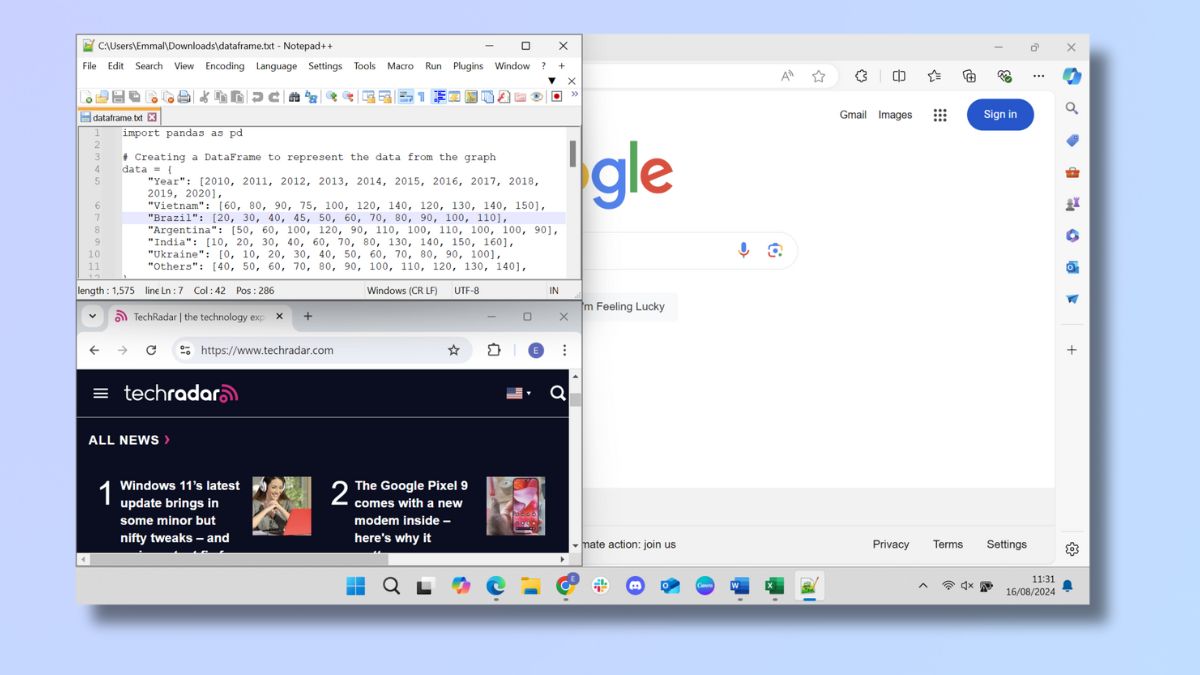
There are two ways you’re free to activate split screen.
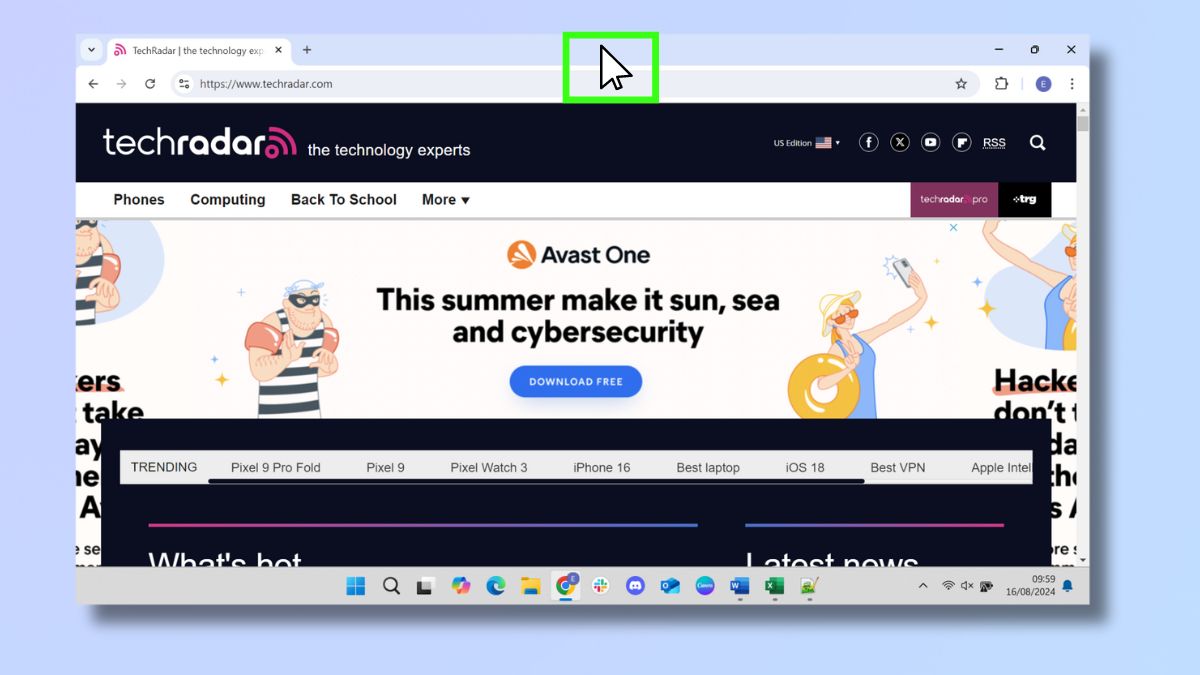
Firstly, by moving the software manually to a side or corner of the screen.
Or secondly, by selecting a layout from the Windows 11 layout options menu.
We’ll cover each of these methods in the next two steps.

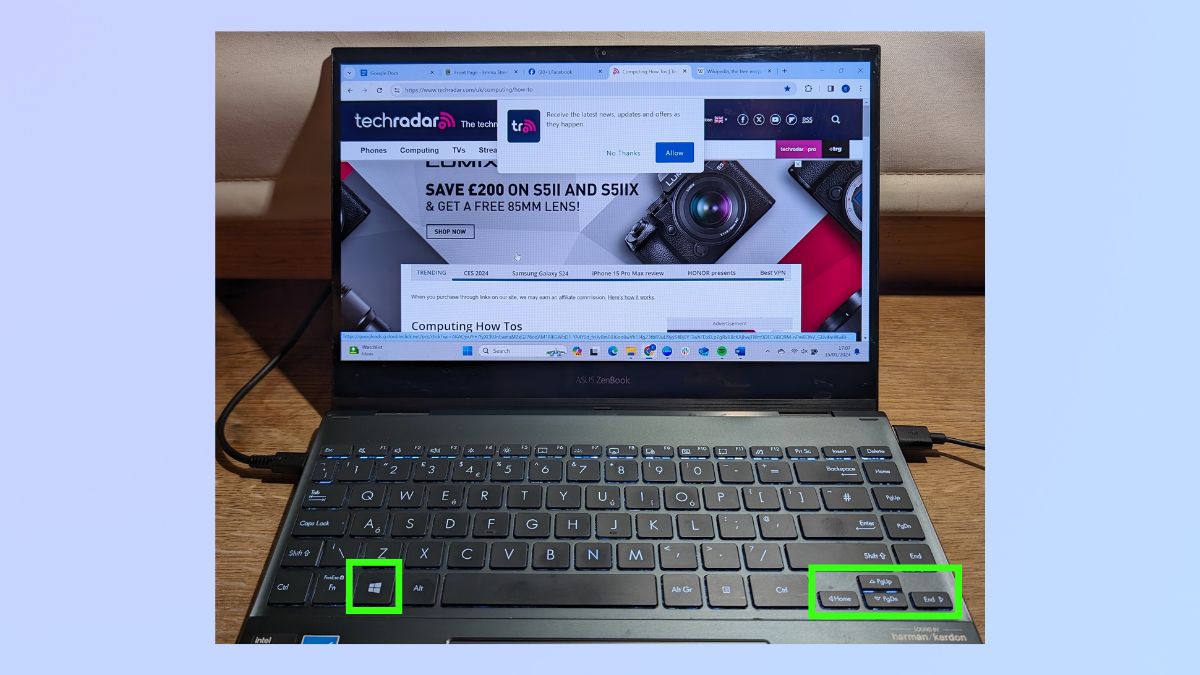
If you’d prefer to use keyboard shortcuts, then skip to Step 4.
A gray box will appear on your screen, showing the location where your utility will appear.
Just release the mouse to drop it into place, and it will snap into its new position.

you might choose the split screen layout you want from a menu at the top of the screen.
Select thumbnail
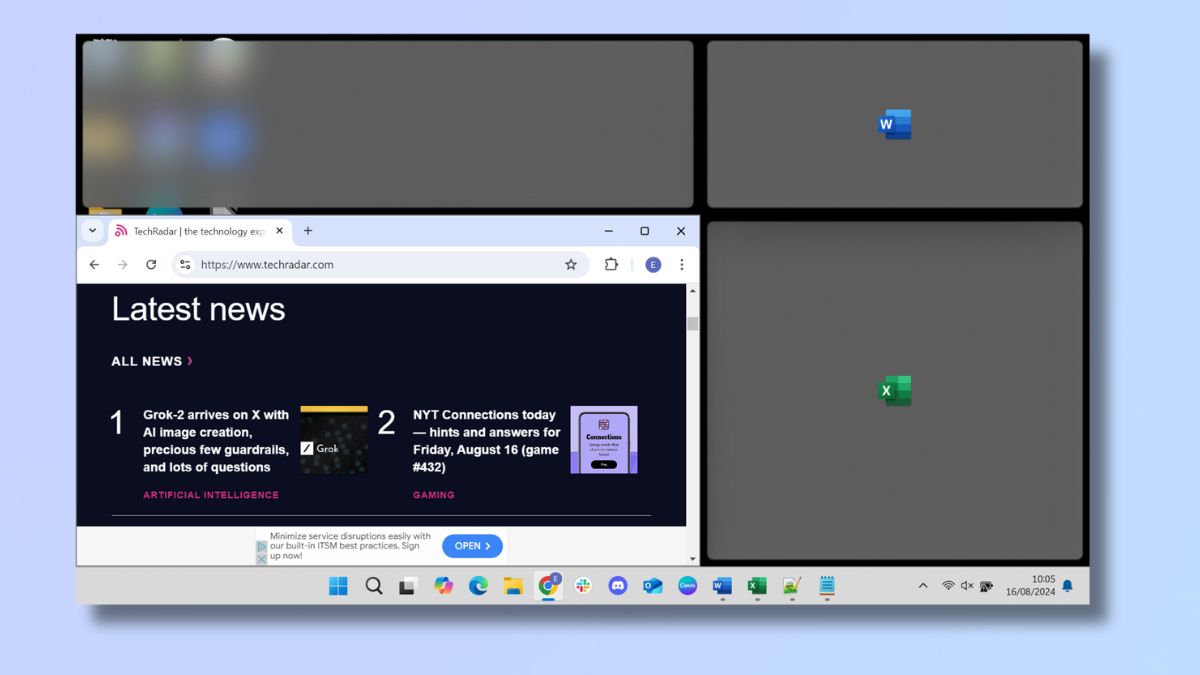
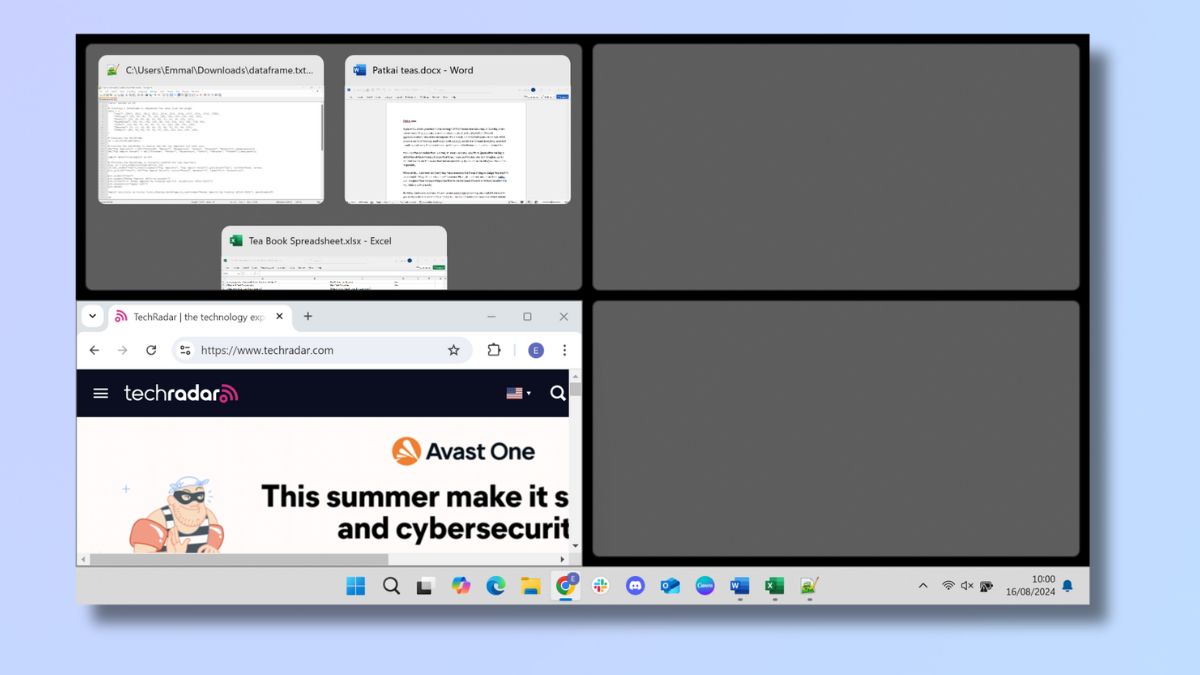
Regardless of which method you used, you should now see your app in its split-screen position.
Windows will show your three most recently used applications or documents in the other split-screen position.
hit a thumbnail to fill that area of your screen with your chosen system.
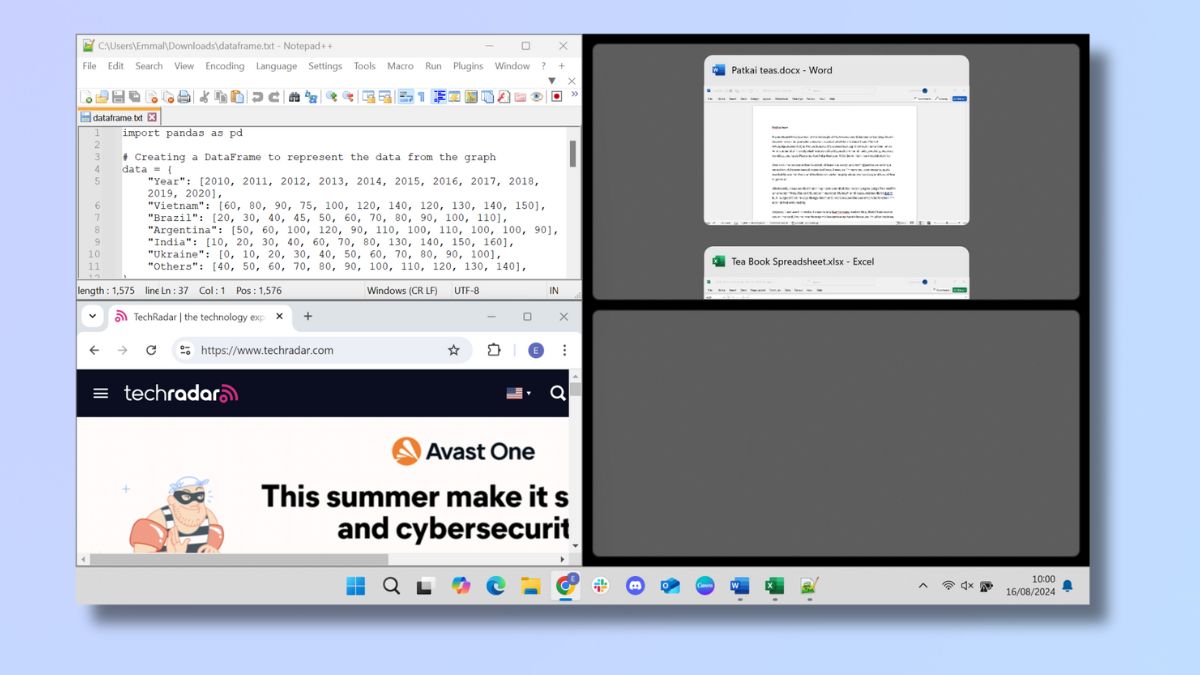
If you prefer, you’re able to just start working on your document or using your software.
The thumbnails will disappear and the remainder of the screen will just show what was there beforehand.
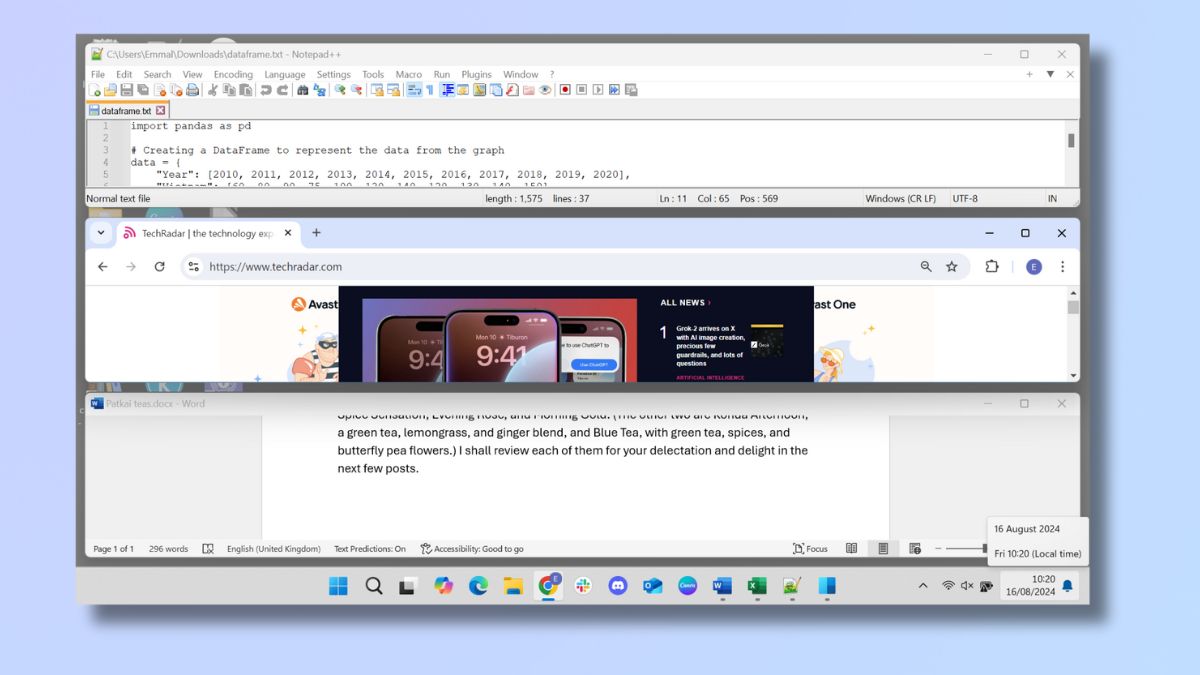
you might then drag your window until it is the size you want.
The other windows will snap into a new size to accommodate this.
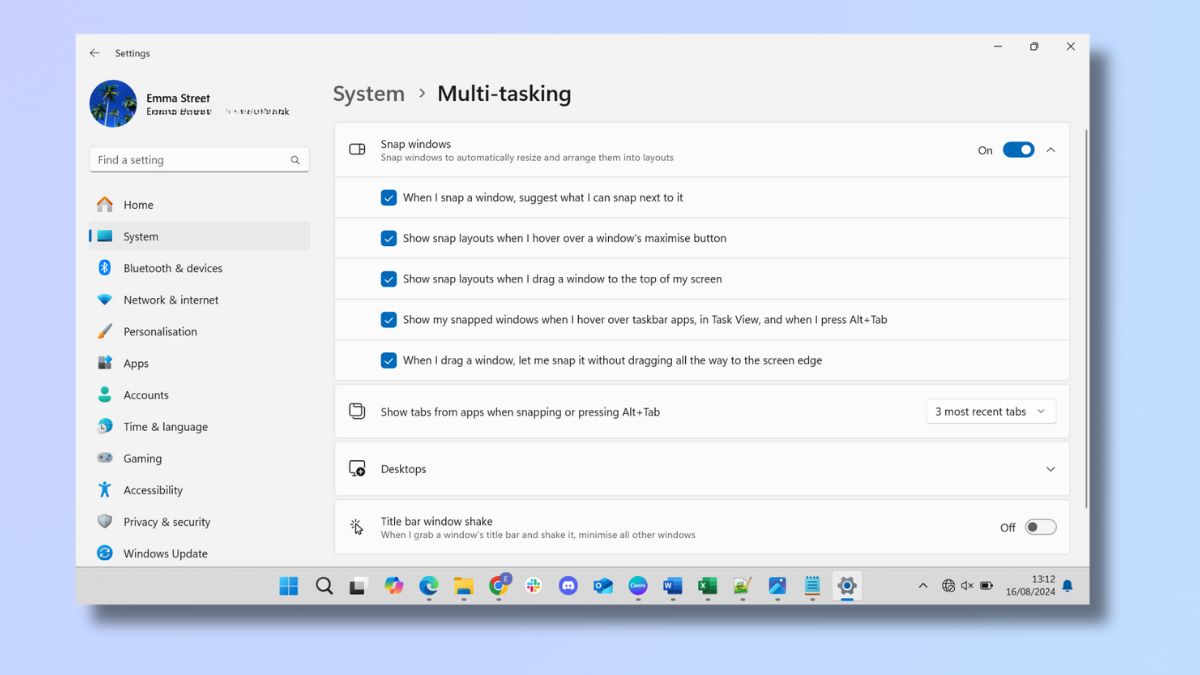
you’re able to also change the number of thumbnails that are displayed.
You will need toinstall PowerToysif you haven’t done so already and then choose the FancyZones option.
Start multitasking
And there you have it.
Now you know how to use Windows 11 split-screening to make you feel like a multitasking wizard.
After all, why settle for one window when you might have them all?